I asked a couple of be-friended photographers to share their photography tips with you. With this know-how, you can take better photos right immediately. It doesn't matter whether you take a photo with a professional camera or a smartphone. These photography tips are universal.
In the majority of photography tips, the focus is particularly on light as an essential, perhaps even the essential element.
The order of photography tips does not reflect their importance. The advice covers various aspects of photography. Depending on your level of knowledge, a tip might be more or less relevant for you.
Have fun reading these excellent photography tips and if you like, feel free to share this article with your friends.
#1 – The best camera is the one with you – Marianne Hope
First of all, thank you to Oliver for including me in this article. Photography is not only my job, but it is also my great passion and I’m always happy to help others improve their photography. When Oliver asked me to share my “top tip for instantly taking better photos”, my first thought was “how on earth can I focus on just ONE tip?” There are many photography tips to give, and I hope my tip below can make a difference to some of you.
Personally, I’m a true believer of “The best camera is the one with you”, so it doesn’t matter if you are using a mobile phone, a system camera or a DSLR. Use the one YOU like and are comfortable with using, learn it properly, practice practice practice, and finally rock it.
It’s true, a mobile camera has technical limits compared to a DSLR, but it’s also easier to navigate, easier to bring along and it’s fun to use. Depending on the situation, I use all these types of cameras and I use different methods and shooting techniques for each camera type.
However, regardless of what camera I use, I stay true to my “less is more” style and I always consider this:
WHAT I’m photographing, WHY I’m photographing it and HOW I can make the main subject – whatever it is – stand out and catch the viewer’s attention.
In my opinion, every image should have a focal point, something that catches the attention of the viewer. The next time you are photographing something or someone, take a moment to consider what your goal is with the image and how you can best make the main subject stand out from it’s/her/his background and surroundings.
There are many ways of achieving this and what you do depends on your motive, your surroundings, your subject, your goals, your style and your preferences. Find a method that works for YOU and YOUR style in the given setting or situation.
Here are some examples:
- Use complementary colors (a red subject on green background)
- Use contrast (black on white, light and dark)
- Use distance (between subject and background or between the main subject and other subjects)
- Create negative space
- Use a shallow depth of field – subject in focus, background blurry
- Find and use leading lines – lines in the image that lead your eye towards the subject
- Frame your subject
Can you see which methods I used in my image?

Marianne, owner of Picturelyspoken, is a lifestyle photographer and storyteller who specializes in capturing people and families in a natural, fun, and simplified way. Originally from Norway, she currently lives in The Netherlands with her husband, 3 kids, and a tabby cat named Whiskey.
www.picturelyspoken.com
www.instagram.com/mariannehope/
#2 – Show reflection in your images – Simone Wittgen
Capture reflection by using water, like a calm sea, a fen, or puddle in the street. Or find a reflective surface like a window, mirror, sunglasses, or even the shiny back of your own or someone else's phone.
Photos with reflection in it almost always show some degree of symmetry, which makes a photo pleasing to the eye. Reflection also emphasizes the beauty of the subject or the surroundings by showing it twice.If you are ready to experiment with reflection photography make sure there's an interesting object in your image that's being reflected.
I personally love a minimal serene style. Photos of reflections usually bring a sense of tranquility in a picture. Especially when you choose to focus on that one single subject and eliminate distractions in the picture, serenity will be assured. You can either use waves for creative looking distortions or you can shoot in calm conditions or take long exposure photos to avoid waves and emphasize calmness.
If you want the whole reflection of your image to be sharp, you need to make sure to close down your aperture to keep the whole scene in focus. Last photography tip: Look for the right angle and get close to the surface for the ultimate reflection. If necessary bend down ;0)

Simone is a photographer and travel blogger from the Netherlands. She loves to shoot places off the beaten track. She recently won the Columbus Travel Award for travel influencer of the year. Simone works for tourism organizations and destinations and for @heyhoneyguide, an initiative to inspire and stimulate travel and enjoying with positive impact.
www.instagrambloggers.nl
www.instagram.com/simone_wit/
#3 – Camera settings, composition, and light – Ellie Dyduch
Having a good eye and talent definitely helps at any stage of the photography journey, though I believe that you still have to learn the basics like camera settings, composition, and light.
There’s a plethora of insightful articles, videos and tutorials available online that can help you improve your technical knowledge about cameras (or even smartphones) or teach you different composition techniques. Take your time to learn and understand the exposure triangle (aperture, shutter speed and ISO) and how the different settings impact the photos.
Composition is one of the most important factors of photography that many people often overlook and using the simplest rule of thirds can already drastically improve any photos you take.
Try one thing: practice taking as many photos, as often as you can, with as many different settings as possible for a month and I can assure you that you’ll see incredible progress in your technical, storytelling, and visual skills.
Always keep in mind that fancy equipment doesn’t make you a better photographer but passion, consistent practice, and learning do.
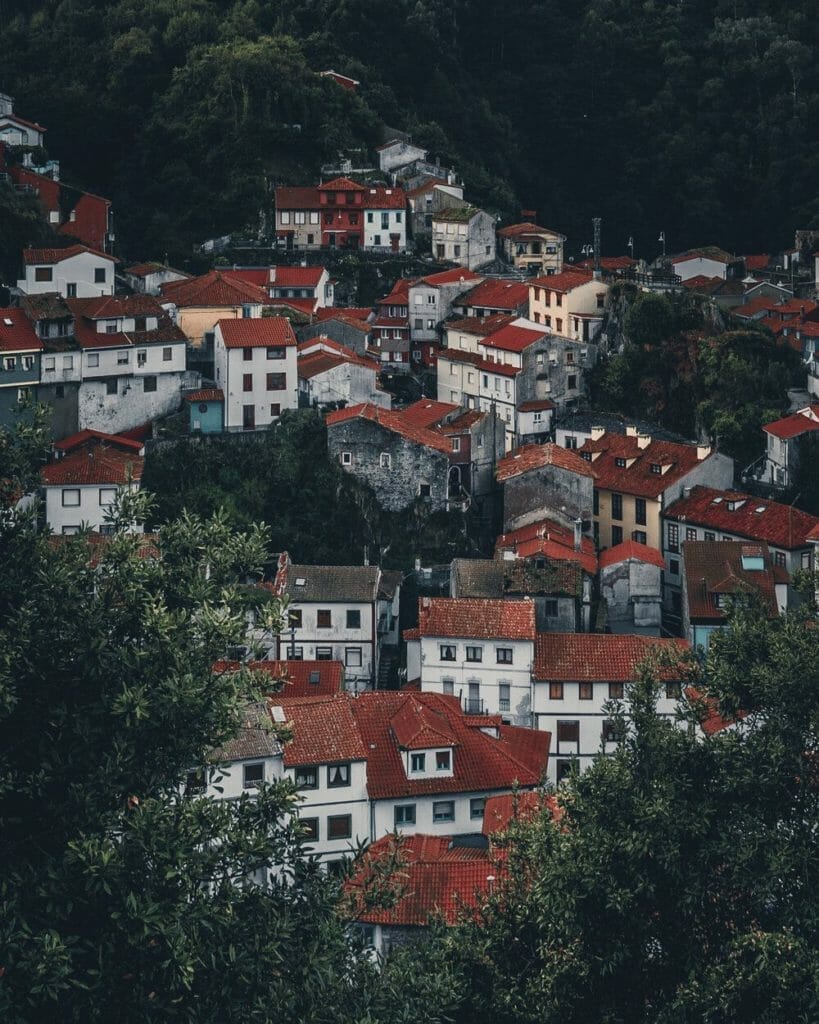
Ellie is a freelance travel and lifestyle photographer and content creator based in London, UK.
www.elliedyduch.com
www.instagram.com/dy_ellie/
#4 – Creative composition- Brian McWilliams
Especially in the age of Instagram, we often find ourselves taking photos of places that have already been photographed many times before by others. When I can't resist shooting one of these cliche locations, I try to come up with a creative way to make my version unique.
Sometimes you can achieve this through creative composition; for example, if everyone typically emphasizes the 50/50 symmetry in a scene, move off-center while keeping to the rule-of-thirds. You can also experiment with point of view to give your shot a unique angle: shoot low to the ground or find branches or flowers to frame the scene in a new way.
Look for lighting that's special, catching a sun flare or shadows that you haven't seen in previous photos. You can also put your mark on a place during the editing process by emphasizing certain tones or elements of the scene. And who knows, maybe something magical will happen as you're shooting, such as a bird flying or an unusual person walking into the scene.
But avoid making your originality seemed labored. You want your approach to appear effortless and natural, and who knows, if all goes well your shot may become the new gold standard.
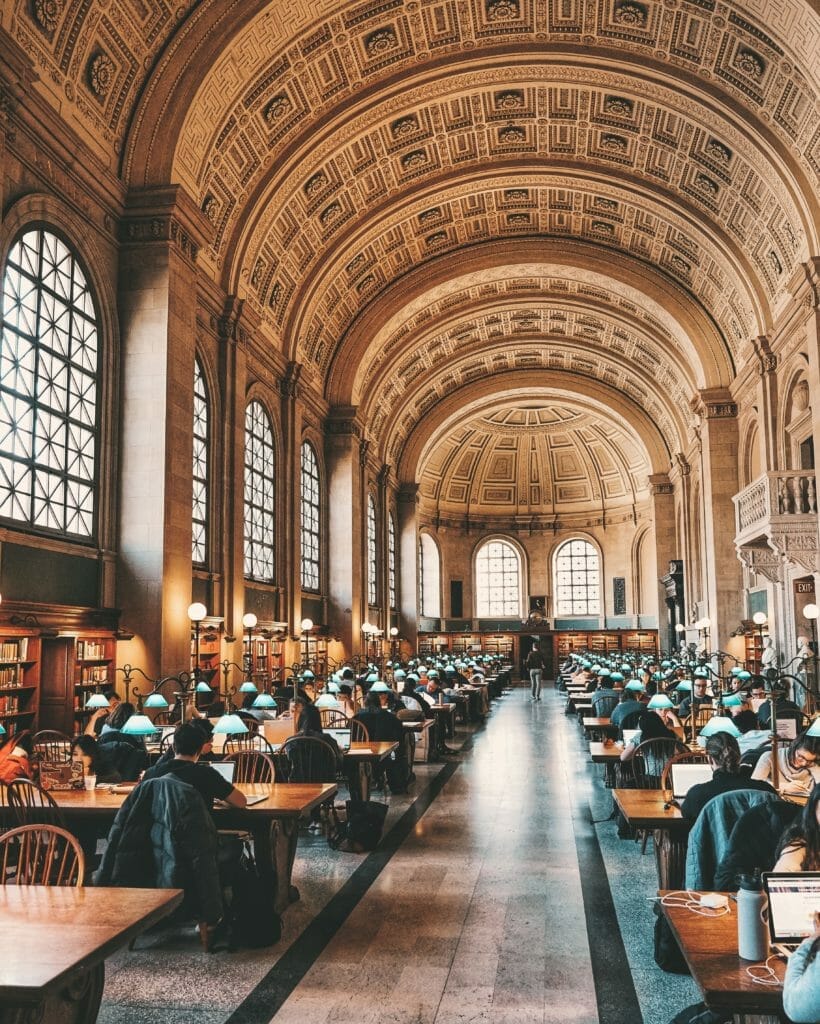
Brian is a photographer based in Boston, USA who captures images of the city during his daily walking commute.
http://www.instagram.com/brianmcw
#5 – Be an early bird – Marc Nouss
The most important thing for me in photography is light. Even more for travel pictures, it's really important to take most of the pics at sunrise or sunset, for soft light and better colors.
The sunrise has the advantages to let you quite alone in the area you want to capture, far from the crowd, especially if you're in a tourist place. I'm living in Paris and if I'm going to take a picture of the Eiffel Tower (or any other touristic place in Paris) in Summer at 6 am at sunrise, at 10 am or at sunset, the result will be completely different.
For sure 95% of the people who will look at my pictures will prefer the one at sunrise, without the thousands of people around there, and the sun pretty strong over the Tower.
So as the light is essential, one of the greatest photography tips for me for travel photography is to be an early bird!

Marc is a self-taught photographer from Paris, with an eye for details and a passion for traveling. Marc is specialized in travels, landscapes, cityscapes, architecture, and portraitures. His clients are mostly in the tourism industry.
www.marcnouss.com
www.instagram.com/marc_nouss/
#6 – Shoot in RAW – Hannah Argyle
The single biggest improvement I ever made to my photography was when I started shooting in RAW. I would recommend making this change to absolutely everyone!
Starting to shoot in RAW can mean you will initially come up against some problems… for example you may currently send your jpegs straight from your camera to your phone to edit. You might have to alter your workflow slightly to accommodate RAW files, but trust me it'll be worth it! You will need some editing software such as Lightroom on your computer to process the files.
To begin with, you may find the RAW files look a little “flat” in comparison to your jpegs. This is because the camera compresses the file when it converts it to a jpeg, adding some contrast, but also losing a lot of the information that was originally in the file.
RAW files may not look appealing, but there's enormous potential in what you can achieve with them! As your photography and your editing progresses, you will be really glad of having that extra information to play with in your images. It gives you far more scope in editing, not only to get creative with the color channels, etc, but also to save blown-out highlights, and to keep the detail in the shadows.
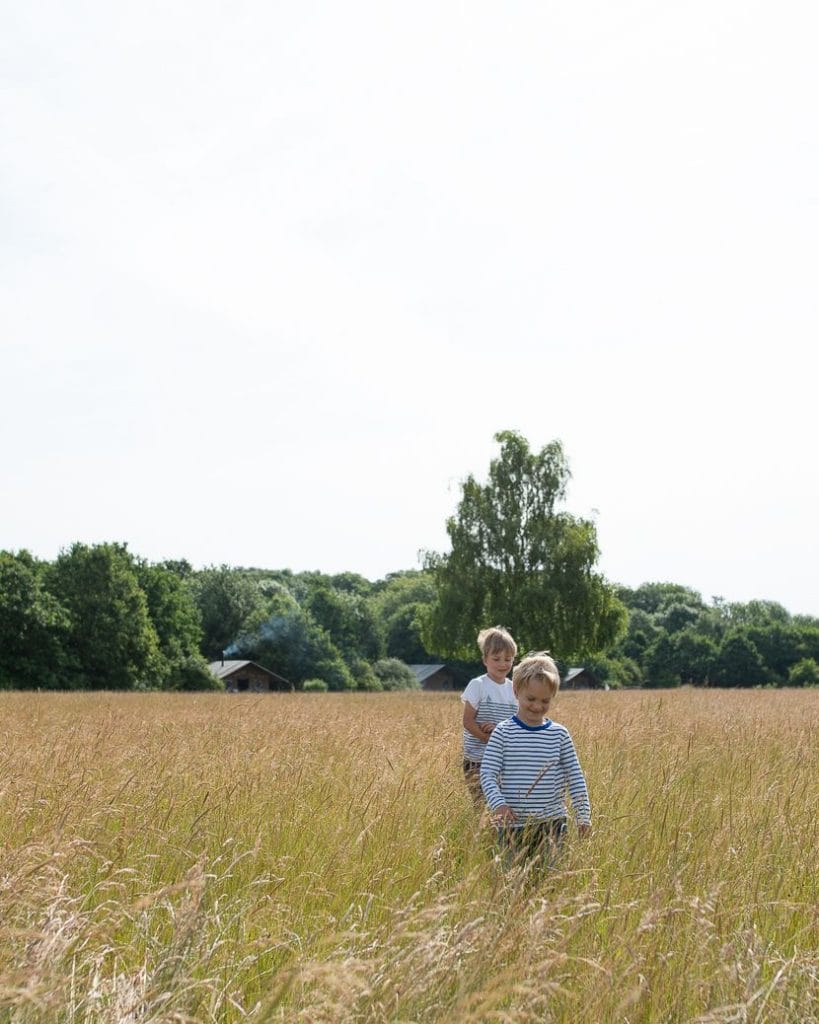
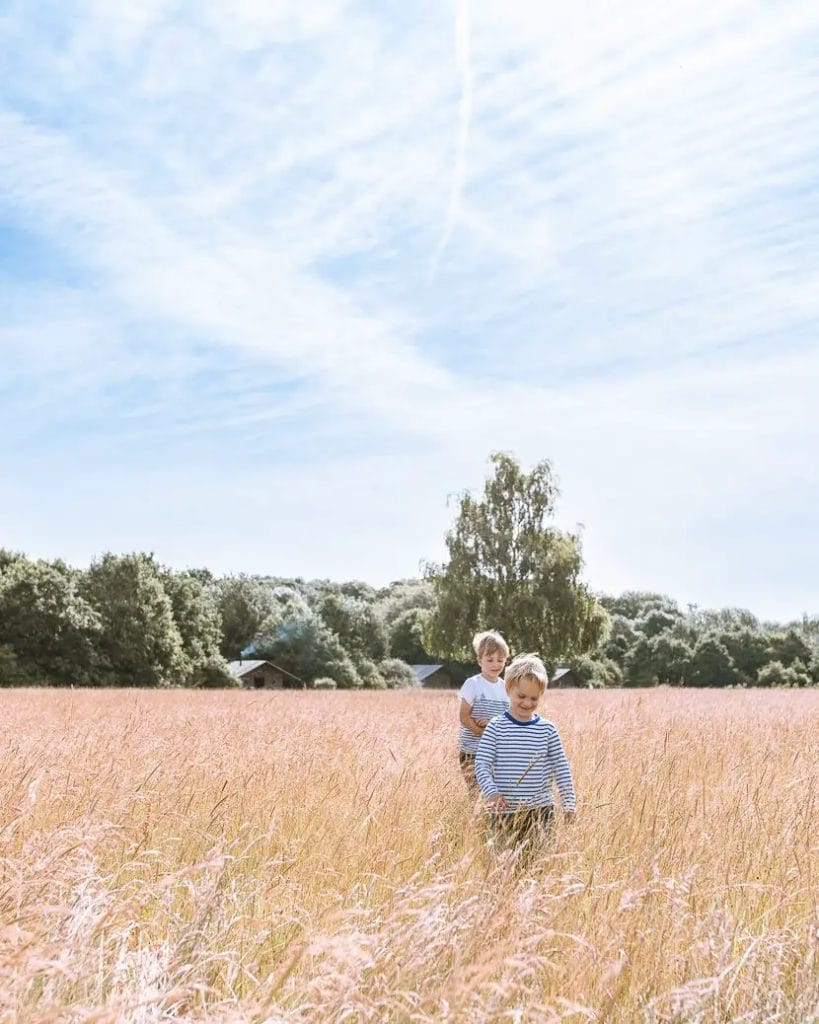
The example below shows very simply all the information that was actually in the sky, which would not have been saved in a jpeg image. I was shooting towards the light, and exposed the shot for my children in the foreground, meaning the sky was blown out.
This is sometimes unavoidable although not ideal – but capturing the moment is the important thing! Simply by reducing the highlights in the image, the sky that was actually there has been revealed and adds so much to this picture.
Hannah is a full-time photographer and mum living in Northampton, UK. She turned her passion for photography into a job around 5 years ago, after a love for Instagram lead her to teach herself everything she could about her art! Hannah now works with brands around the world to create content for social media, as well as doing product shoots at her home studio.
www.hannahargylephotography.com
www.instagram.com/hannahargyle
#7 – Stay creative – Gabriel Guita
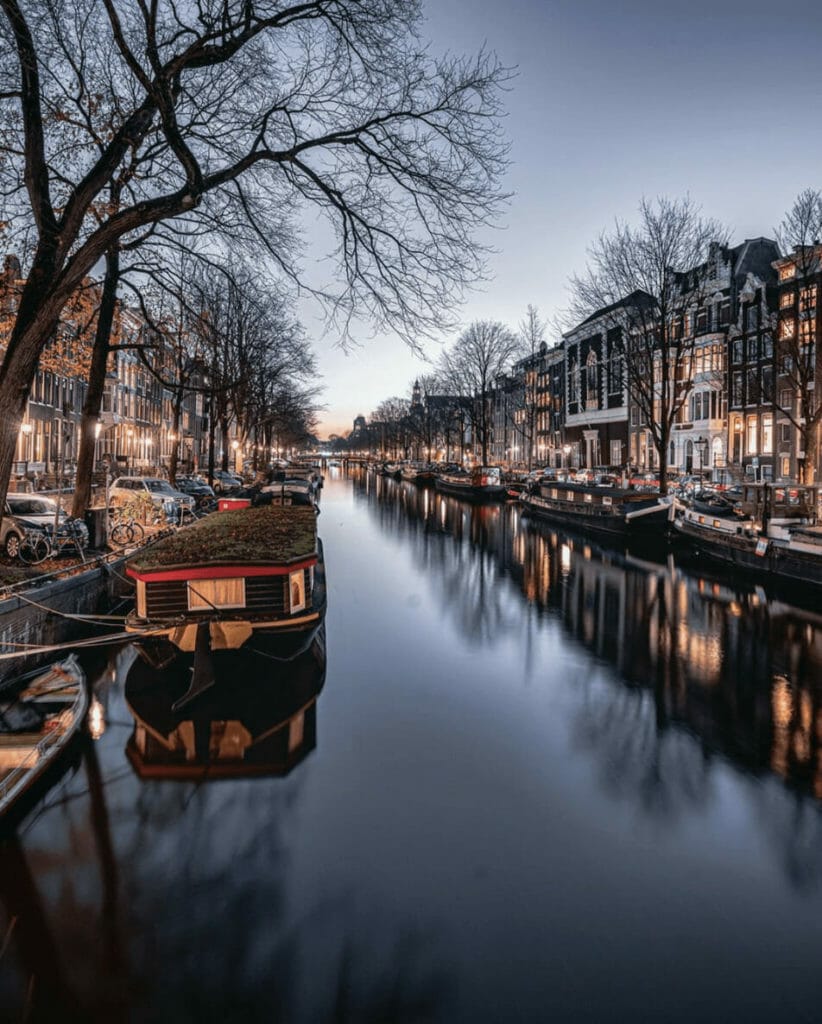
Personally I like to take photos early morning and sometimes in the evening when searching for the best light. Early mornings have the best light and you have also the advantage of empty streets from the city, which sometimes gives you new perspectives and new inspirational moments.
As a setup of the camera, aperture mode with autofocus for a quicker way of taking photos or manual mode with a manual focus, this will give you full control of your camera. The manual focus is also an important factor in reaching the perfect photo, this will extend your creativity and makes your photo super sharp.
I'm not a big fan of using a tripod, especially for street photography when I have to walk and discover lots of places in the city, but for night photography is totally recommended. Without a tripod, it might be a bit more difficult or almost impossible.
Another important factor is also how to get inspired and understand the difference between getting inspired and copying someone else's work. My photography tips are to better to find your own inspiration preferably from unique places or with unique compositions by experimenting and trying to combine elements with the best light of the day.
Being a travel photographer leads you to new explorings, and gives you that opportunity to show that to the world, stay creative and never stop playing!
Gabriel is a photographer from Romania based in Amsterdam passionate about traveling and photography. He started photography more seriously in 2015. Gabriel now is specialized in city and landscape photography and is constantly publishing some of the best photos on his social media accounts.
www.instagram.com/gabriel.guita/
Bonus Tip – Image composition – Oliver Bock
This last of many great photography tips in this article deals with the subject of image composition. Especially if you mainly or exclusively take pictures with your smartphone, the aspects such as aperture, exposure time and ISO are of no interest to you, because you can usually not influence these technical but important elements.
One of my photography tips: focus on image design. Among other things, these three simple basics help you to create better photos instantly:
- Rule of thirds: With the rule of thirds, you divide the image into two pieces of equal size using two vertical and two horizontal lines (almost all smartphones and cameras can switch this grid on and are then visible in the viewfinder or screen). You now place the core element of your photo on one of these imaginary lines or at the intersection of them. This makes the image more interesting than if you place your core element centrally in the middle of the image section.
- Symmetry: Quasi the counter rule to the rule of thirds. We think symmetrical things are naturally beautiful. You can use that in your photos. So look for a completely symmetrical image structure. This works very well with architecture or reflections. Attention: Our eyes recognize small deviations immediately.
- Lines: There is practically no picture or an image section without lines. Be it the horizon or the street that leads into the picture. Use such lines deliberately to guide the viewer's eye into the picture. This will give your picture depth.

Oliver is a photographer, content creator, and social media expert. A few years ago he founded the successful Instagram community @igershamburg in Hamburg.
www.instagram.com/oliverbock
www.oliverbock.photography
Check out our articles on Instagramable Spots:
